 |
| Chris evaluating site from above. |
Last week I joined engineer Chris Rollins and
University of Rwanda architecture student Christian "Kara" to do some surveying for a project in Kigali. Chris has done a lot of construction work throughout Africa and has been a great source of information for my UNICEF projects. The construction manual I've drafted is inspired by something similar he produced for projects in South Sudan. During this visit, we were able to play with a number of toys I don't usually have access to. Here's a quick summary with photos of the equipment.
We started off by marking a 10 meter by 10 meter grid pattern over the entire site with flags. Chris brought a
Keson MP401E measuring wheel to get the distances, so no need to deal with standard tapes. A measuring wheel makes surveying a site much quicker and easier on the back. We used the same tool to measure distance to services (water, electric, paved road, etc.). It has a pause button on it, so when we'd run up on a large obstacle, we could pause it, move to the side, and restart to continue our reading. The handle folds down and Chris was able to fly with this and the other equipment. Chris is actually pictured in the Keson catalogue using one of these wheels for Engineers Without Borders in Malawi.
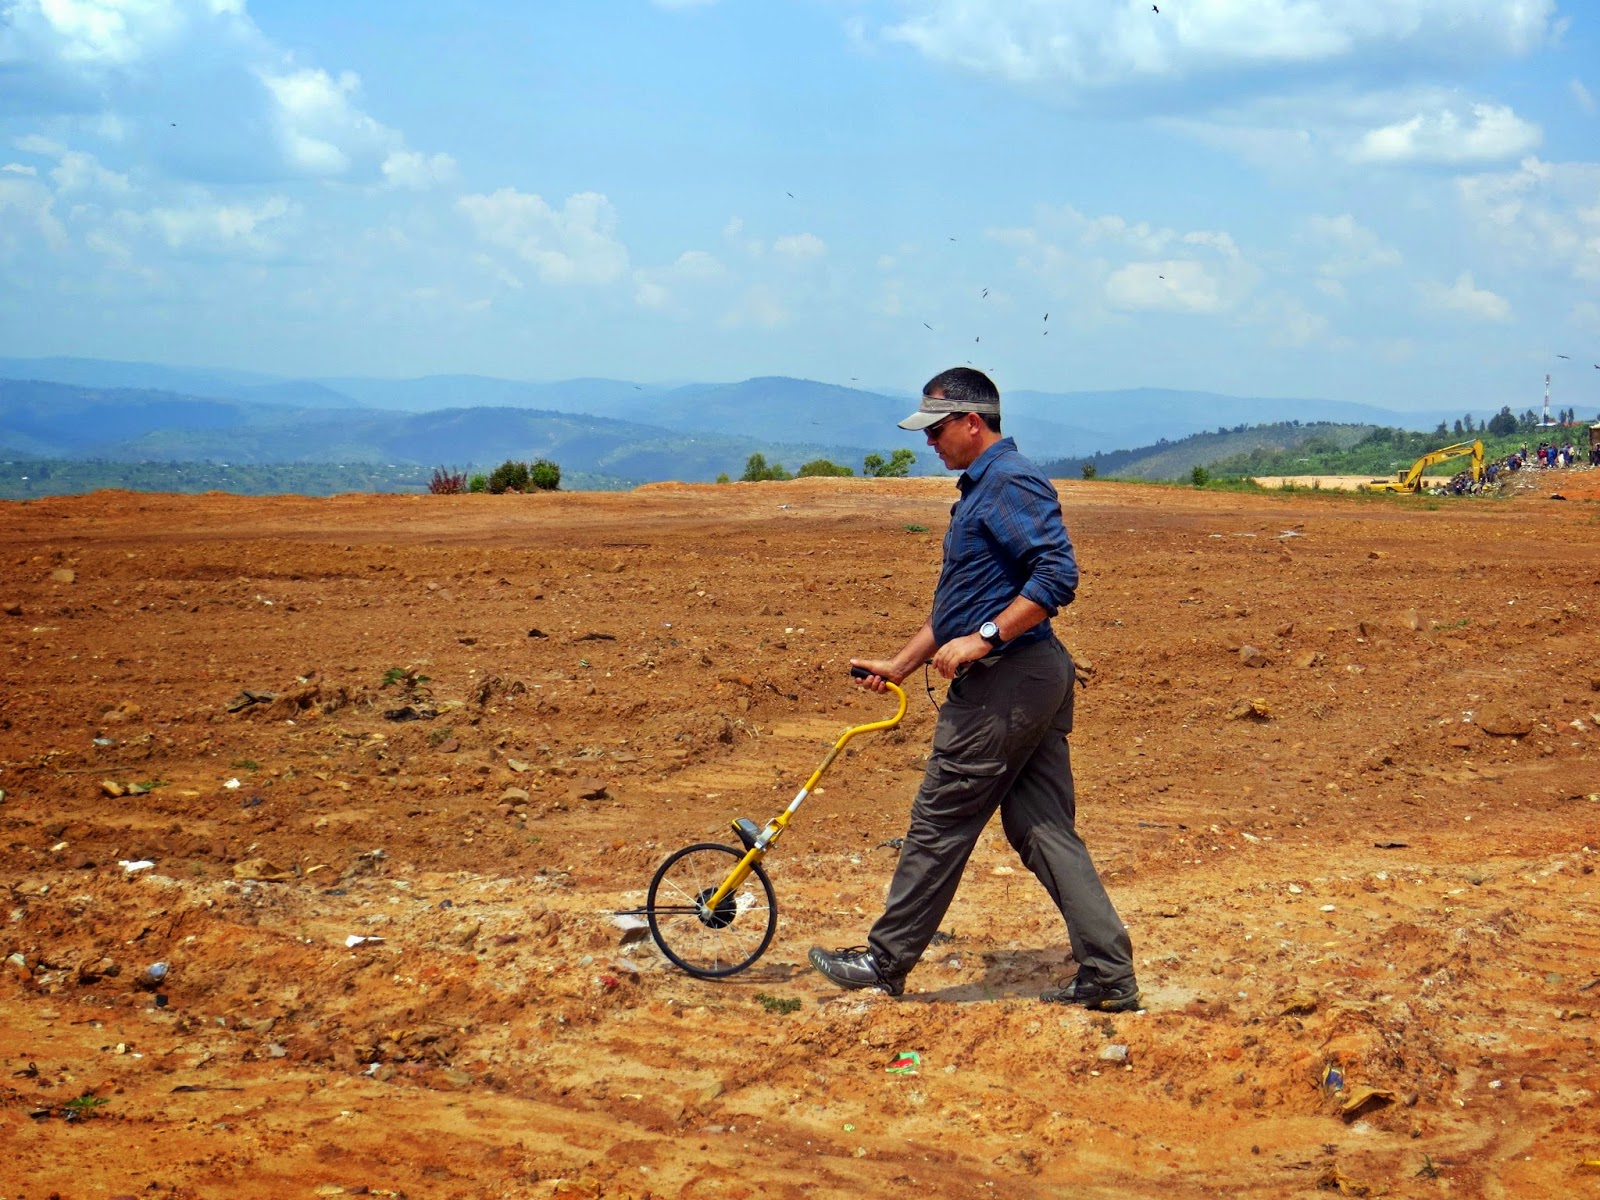 |
| Chris using the measuring wheel. |
 |
| Chris centering the bubble. |
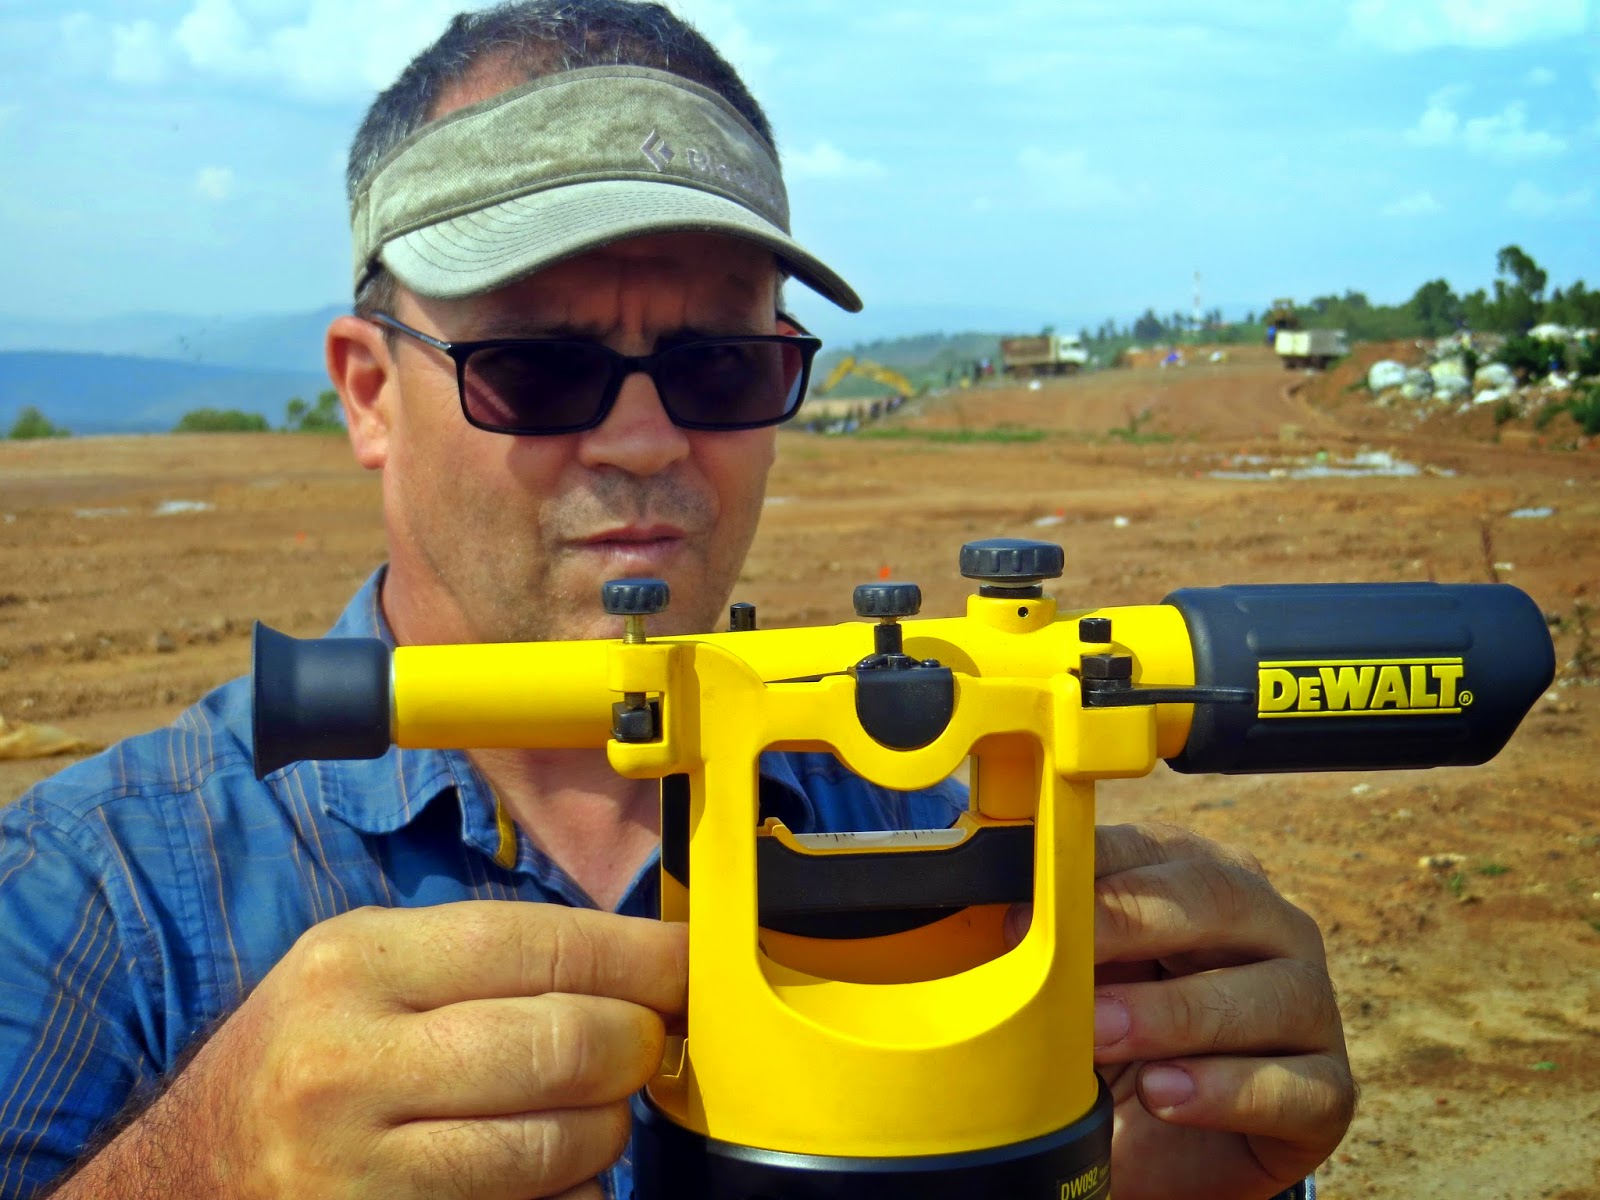
Once we had the grid laid out, we used a
DeWALT DW090PK builders level to take elevations at each point. The builders level was set up at one of our grid points and all other points were measured compared to this point by having somebody stand at the point with the aluminum grade rod to get a reading. Chris will put the points as X, Y, Z coordinates into a spreadsheet, export as comma separated variable file, and import into
AutoCAD Civil 3D and create a topographic map of the site, which will later be used to design the building, estimate cut and fill, etc.
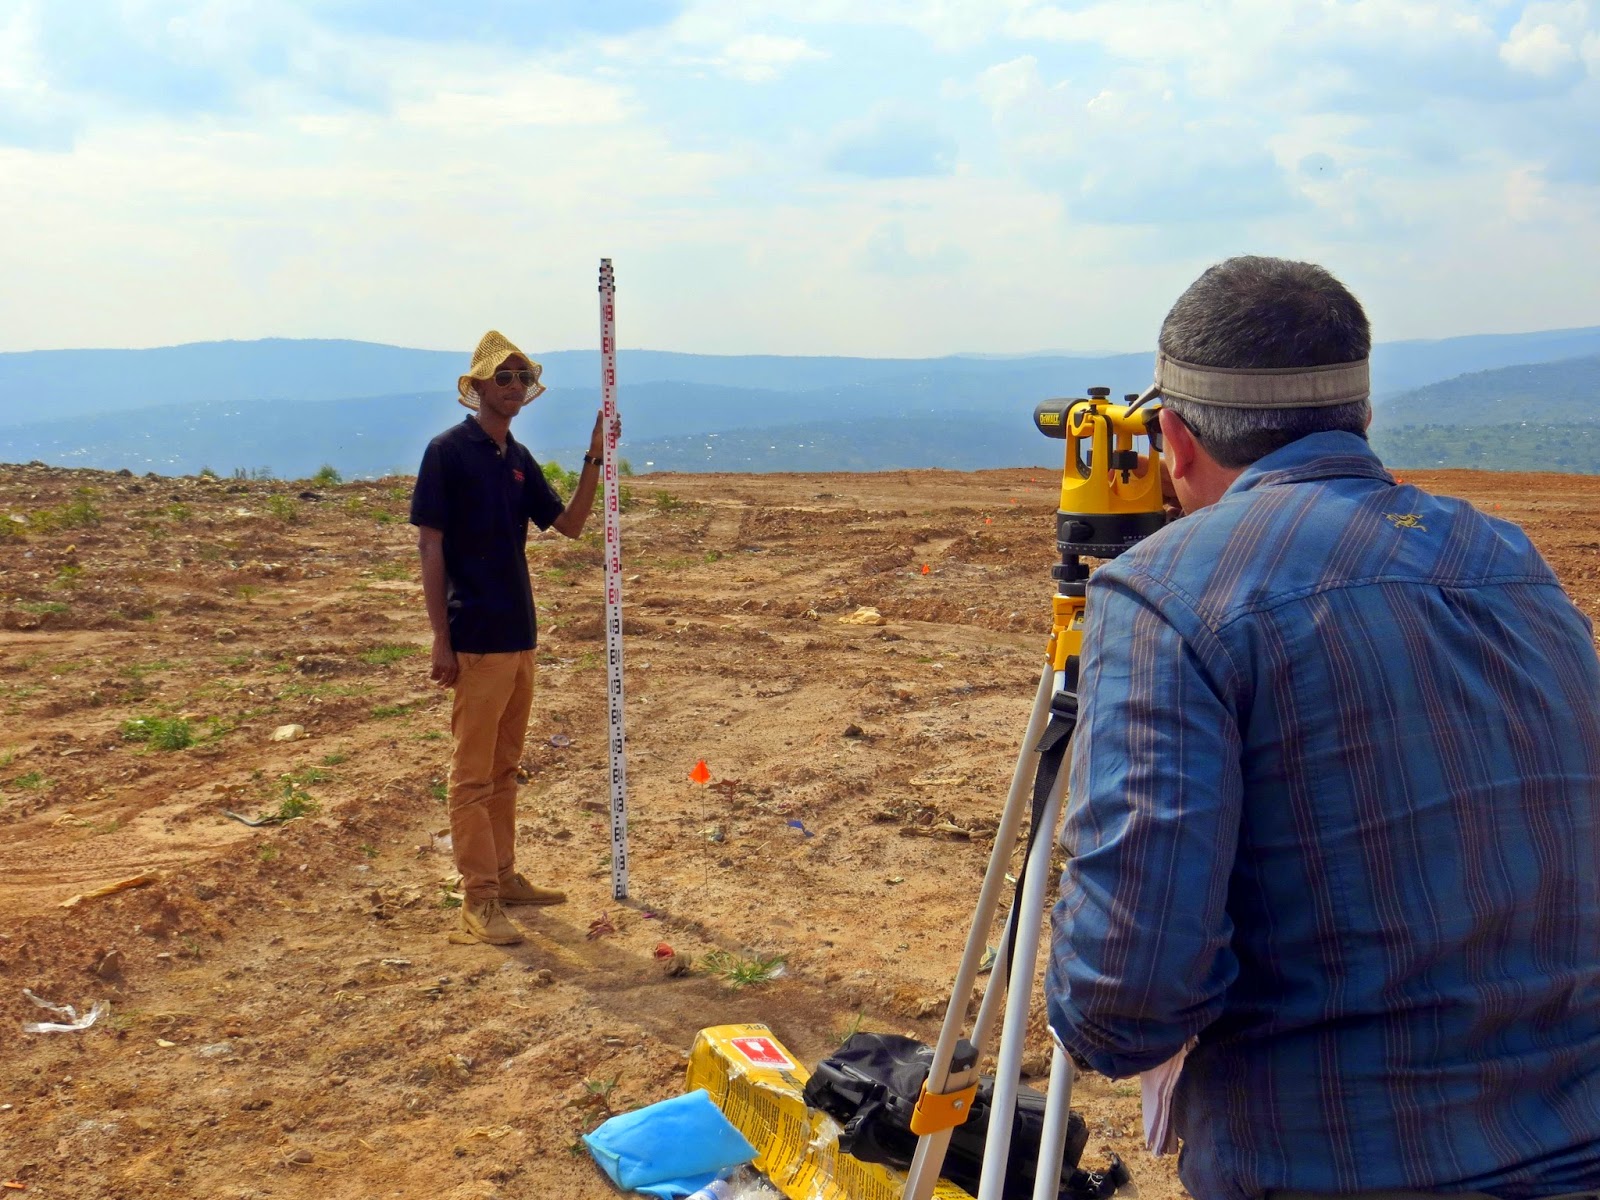 |
| Chris on the smart end, Kara holding the grade rod. |
 |
| Kara trying his hand at the smart end of the level. |
 |
| Kara about to drop the hammer. |
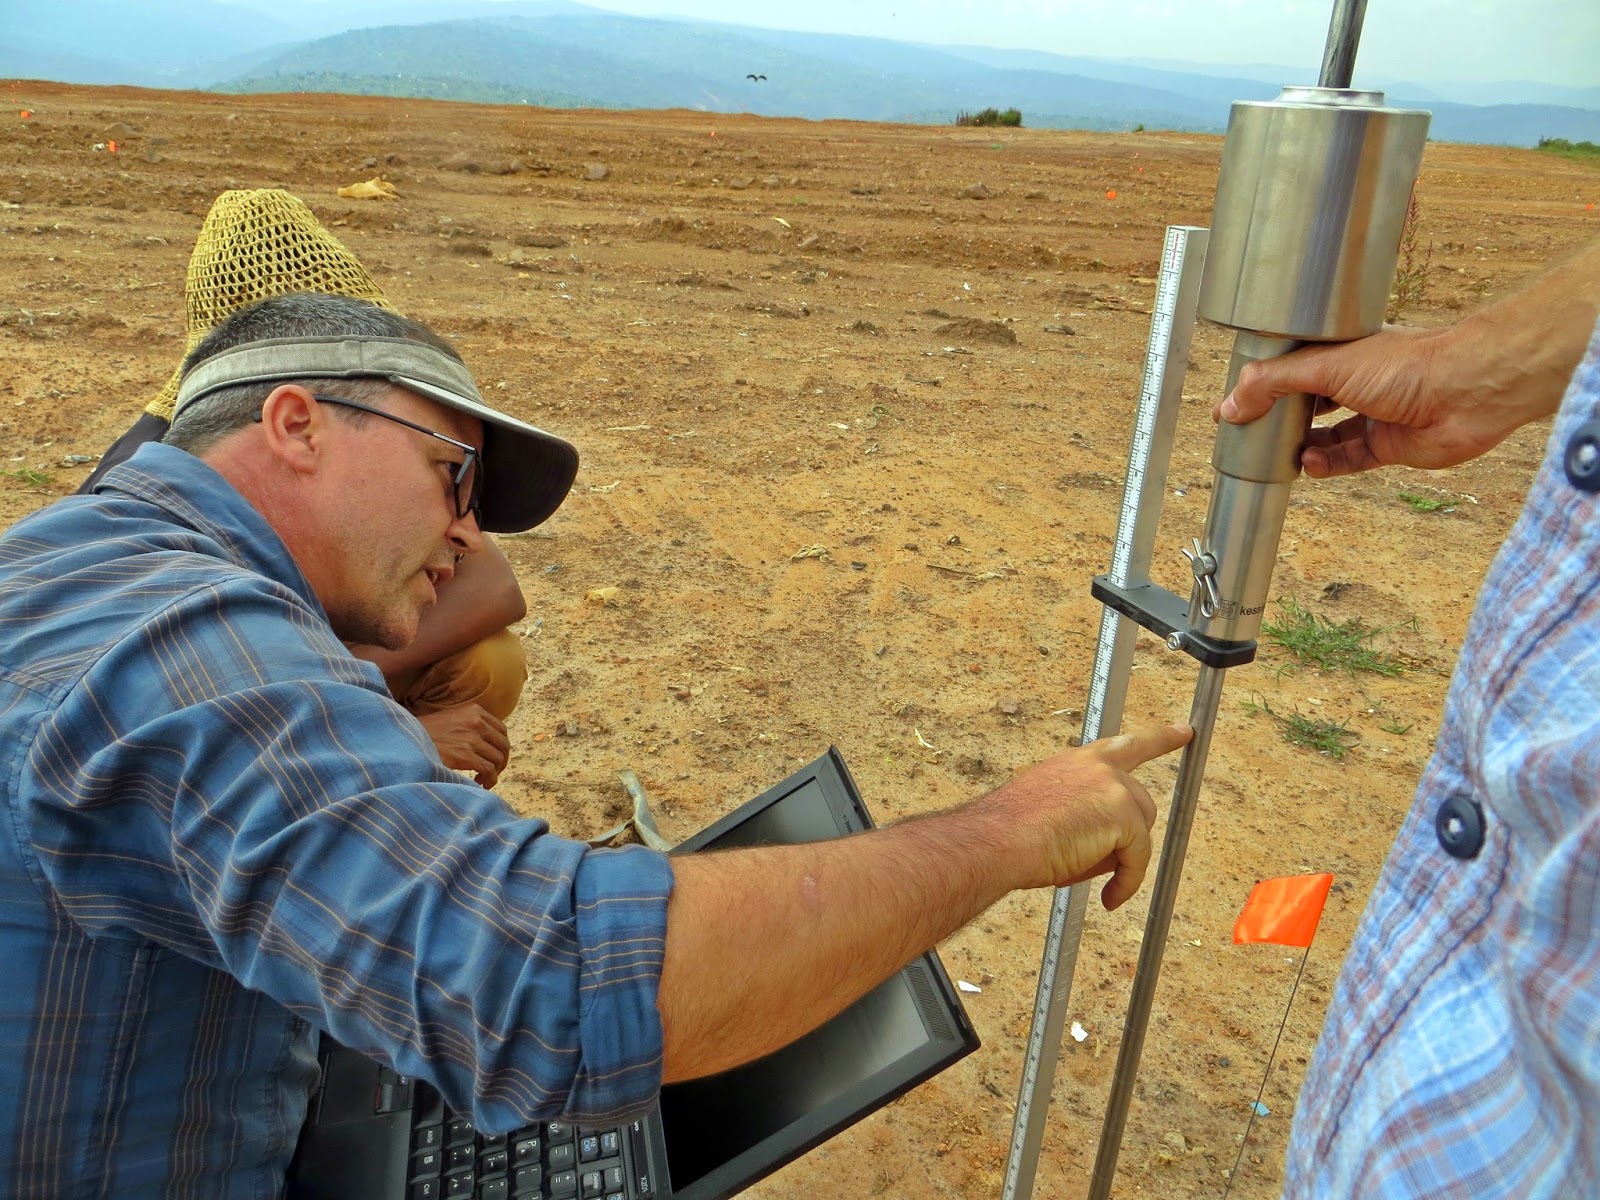
Finally, to evaluate soil conditions, we used a
Kessler K-100 dynamic soil penetrometer to get representative samples across the site. The DCP test uses an weighted hammer dropped from a set distance to pound a drive rod into the soil. Once you know the general soil type, the rate of rod penetration is entered into a computer and the CBR (California Bearing Ratio) value for the soil at different depths is given. CBR is a penetration test for evaluating the load bearing capacity of soils originally developed for road construction by the California Department of Transportation. Crushed California limestone is the reference value with a CBR of 100. Our site was getting values between 4 and 40 depending on where and how deep we were testing. These values will influence building foundation design and influence what type of construction can be built on site. This is the first time I've seen the DCP in use and I can think of many times when it would have been useful for one of my projects, especially those that have a lot of cut and fill (almost all projects in Rwanda, "Land of 1,000 Hills"). It would be good to sample un-disturbed soil and then compare that to the compacted backfill to make sure we get sufficient compaction to avoid settling and cracking concrete. The Kessler version we used even comes in a durable Pelican carrying case, perfect for flying around Africa.
 |
| Chris explaining the DCP. |
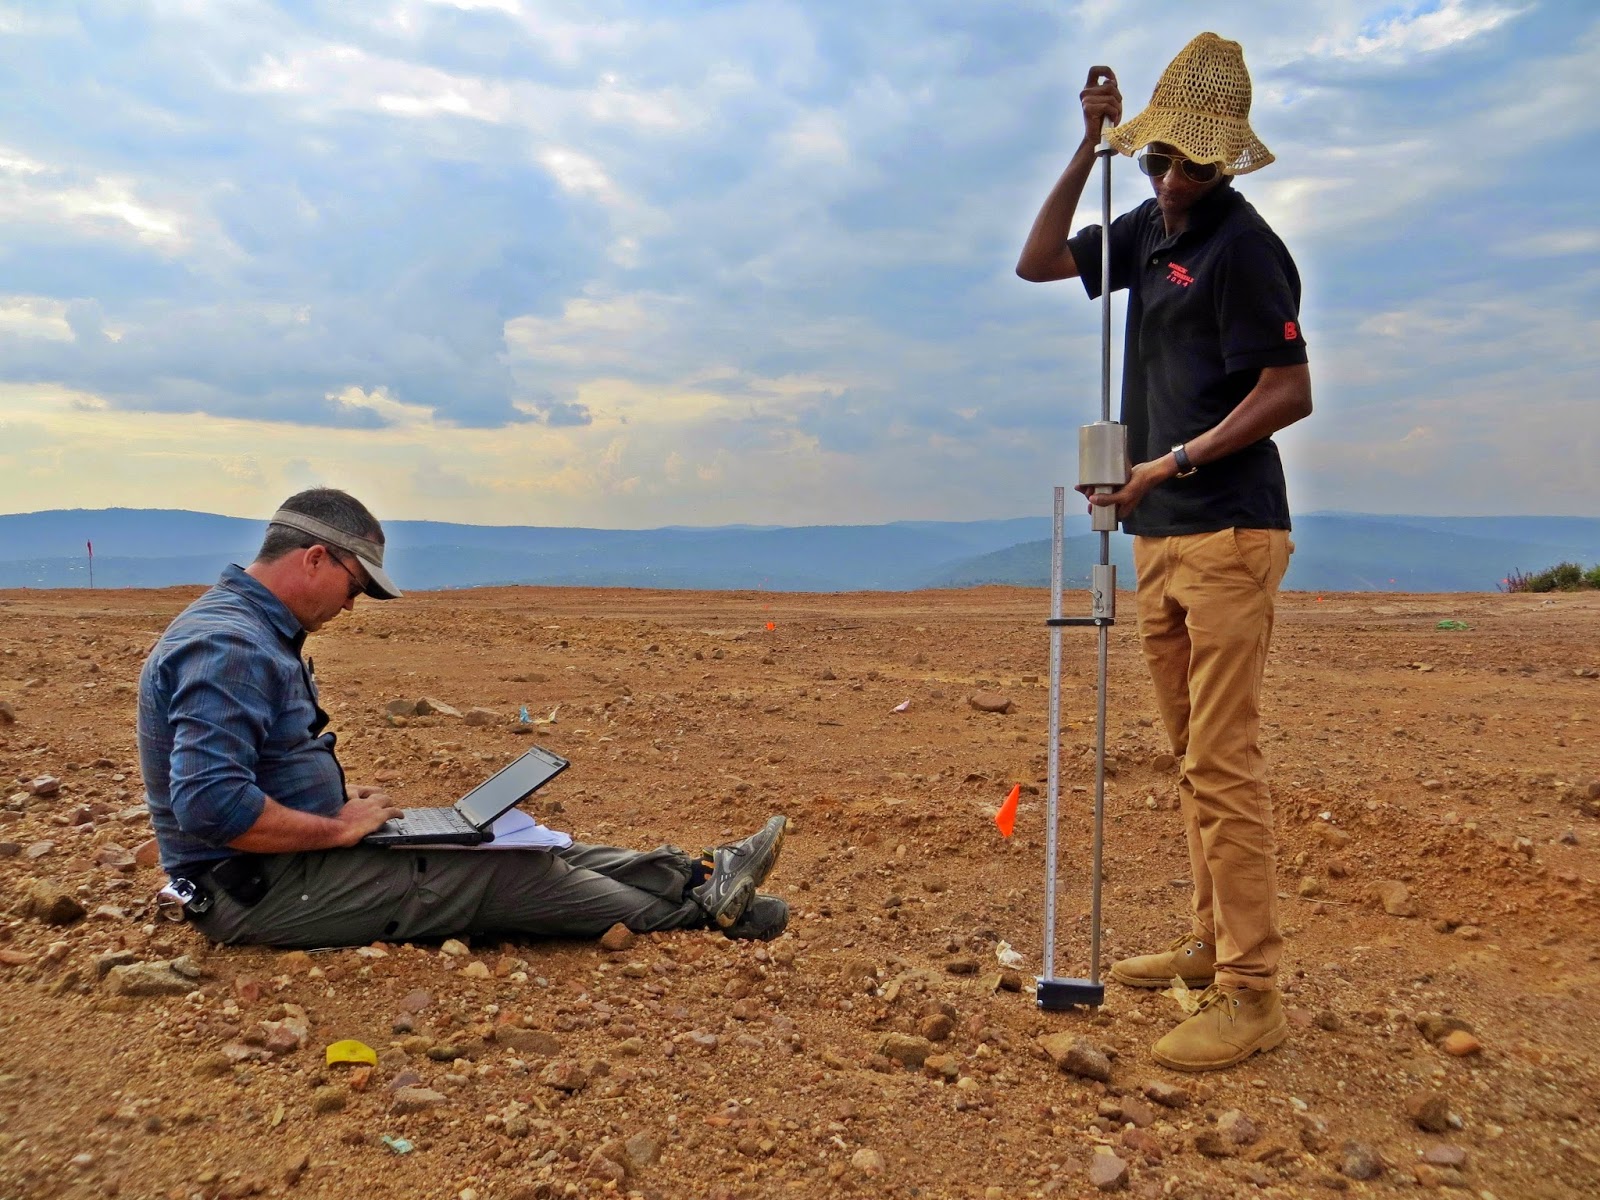 |
| Kara dropping hammer, Chris entering values into computer. |
All of the survey data collected will be used to develop site plans for the client. Having accurate data means they'll know exactly what they're getting into if they choose to move forward. I've "surveyed" dozens of project in Rwanda, but this was the most thorough to date and had the best toys by far. Thanks Chris and Kara.


